Every month I’ll get a message from someone crying out in desperation “HELP, my sourdough starter isn’t working”. Or that’s not bubbly, and occasionally the worry that it might have died altogether. On the latter it’s fairly unlikely that you have every killed it, these yeast and bacteria that make your starter are pretty hardy and just need a few comforts in life to keep them happy.
So if you’re not entirely sure whether your sourdough starter is up to the job or not, you need to do a sourdough health checkup.
To judge whether your starter is active and healthy or not, check these three things:
1. Does it bubble up in 4-6 hours after fresh flour and water is added, roughly double in volume if kept at 24C or around that?
2. Has that bubbling up happened in the last 6-12 hours, does it look lively still, or has sunken back down and look a bit flat?
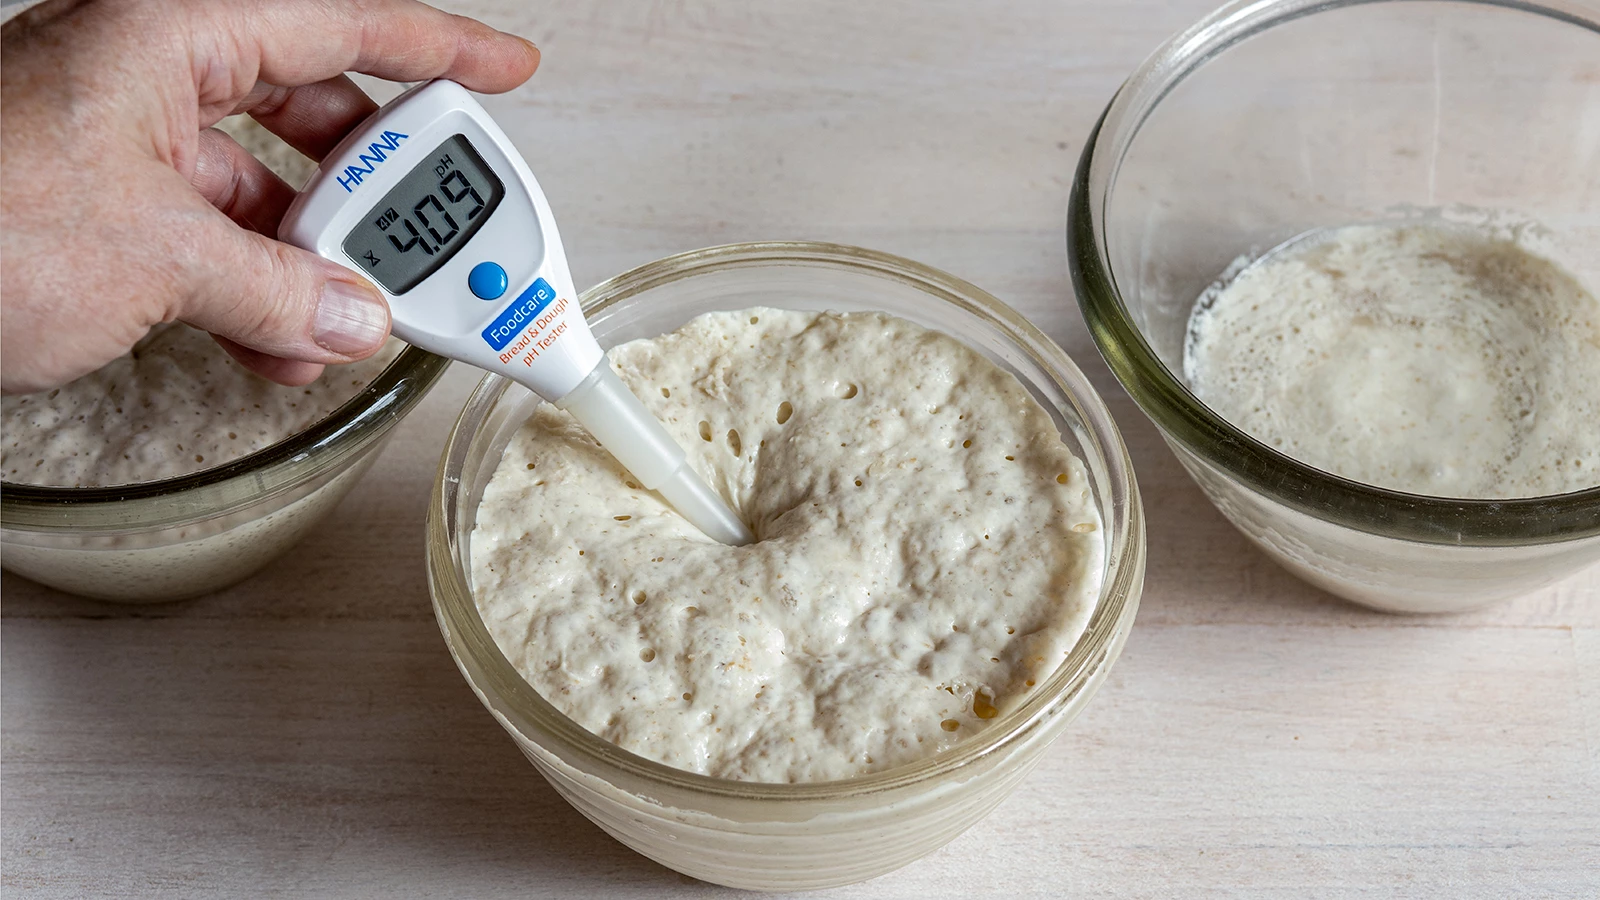
3. Does it give the bread a rich acidic flavour, and possibly even smell a little vinegary, acidic, or something like that? A flavour and aroma that you enjoy?
If any of these three points are not to your liking, fear not, we can help you. And it will be really easy to fix, trust me. These yeast and bacteria are “designed” – hey, it’s hard not to think of them as a kind of miracle of Mother Earth – to do just what you want them to do. Create bubbles of gas in your dough and give an acidic flavour and aroma to your bread. That’s their job description, their USP, their place on the shelf of life.
Step 1. Get your sourdough to bubble up in 4-6 hours
To check this one, take about 10g of your sourdough starter and mix it with 40g warm water (about 25c) and 50g white bakers’ flour, stone or roller milled. The reason for this type of flour is that it contains only protein and starch, perfect for fermenting and bubbling. You could also use sifted rye flour, or another sifted flour. Wholemeal flour will be helpful later, but you need to do this test first.
Check the starter after 4-6 hours to see if it has risen.
If it's bubbling, move on to step 2.
If its not bubbling, stir it well and leave for 12 hours. If it has risen after that, discard 4/5ths (you can add it to a loaf of yeasted bread), so that you only have 10g remaining, then repeat this step from the start. Keep doing this until your starter rises 4-6 hours.
Step 2. Getting your starter back to bubbling form, or starting a starter from scratch
If your starter isn’t bubbling at all, we need to infuse it with life. Nothing Dr Frankenstein about it, more like planting seeds in the garden. The yeast and bacteria you need to get your starter active can be found on the outside of the grain. They’re not floating in the air like microbial butterflies, they have no wings, and although they look balloon-like they settle rather than float if caught by a breeze, like dust in the air. Yeast and bacteria are fairly sensible and stick close to their food source, so add wholegrain flour, especially organic flour, to your starter and it’s likely that one of the spoonful’s will contain the bacteria and yeast you’ll need. Which spoonful? Hard to say.
So you can either go about fixing this the slow or fast way. For the slow way, take 10g of your old starter, and mix it in a clean bowl (ideally one with a tight-fitting lid as you don’t want it to dry out) with 10g wholemeal flour (any sort), 10g white flour, and 20g warm water (at about 30C). Stir well, cover and leave for 24 hours at 24C.
If it’s bubbling well, return to step one.
If it isn’t bubbling or bubbling only slightly, stir well and leave a further 24 hours.
If it’s bubbling at this point, or on any day after this, you’re fine to go back to step one.
If it still isn’t bubbling, add a further 10g wholemeal flour (any sort), 10g white flour, and 20g warm water (at about 30C). Stir well, cover and leave again for 24 hours at 24C.
Basically, you keep repeating this until it starts bubbling, and it will, in anything up to 7-10 days if you’re starting from scratch. Keep the bowl scrupulously clean, keep it covered well so that flies or dirt can’t get in, discard 4/5th if your bowl starts to fill up, and think about washing and drying the bowl clean every 4-5 days to make sure mould doesn’t take hold.
What’s the fast way, you ask? Add a zero onto the end of the amounts above, so mix 100g old starter with 100g wholemeal, 100g white flour, 200g water. Creates much, much more waste, ok if you have a compost heap, but useful for impatient bakers. But as it adds in more flour it’s also adding in more yeast and bacteria found on the grain.
Step 3. Getting the best flavour
To fix the flavour, it’s really about getting a good mix of bacteria in there, keeping the fermentation temperature slightly warm (start with 25C, even for the starter each day you’re using it) and slightly varying the flour types you use. On the latter, I haven’t especially noticed I get a flavour high above all others with rye flour, so do try other grains as well. And I do like to keep a mix of white flour and wholemeal flour in my starter: this of the white flour as “fuel”, and the wholemeal flour as “life”.
Now for the old-school sourdough obsessive, nothing but interesting flours or grains and water can be used to create the flavour and activity in a sourdough. However, there is an underground of sourdough experimenters who wonder if other ingredients help develop a more complex microflora, flavour, and activity in a starter. Adding strains of yeast directly, sometimes mixing in fermentation from other sources (from yoghurt to sake lees) through to mixing in fruit and vegetable material (from banana to cabbage leaves).
The accepted sourdough orthodoxy is "only use flour and water in your starter" otherwise we’ll send the lads 'round. But how can you truly be inspired by sourdough and not wonder, not experiment?It is about experimentation, but this is the exciting aspect to sourdough starter cultivation. So many possibilities to explore.