Ingredients
For the autolyse
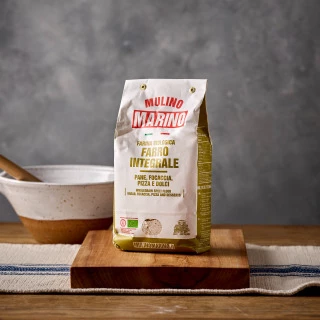
450g Mulino Marino Organic Farro Integrale (Wholemeal Spelt) Flour
260g water cold (10C)
For the dough
100g active sourdough (mixed 0.5:1:1 starter/flour/water about 12 hours before)
60g water, room temperature
8g Super-Fine Rock Salt
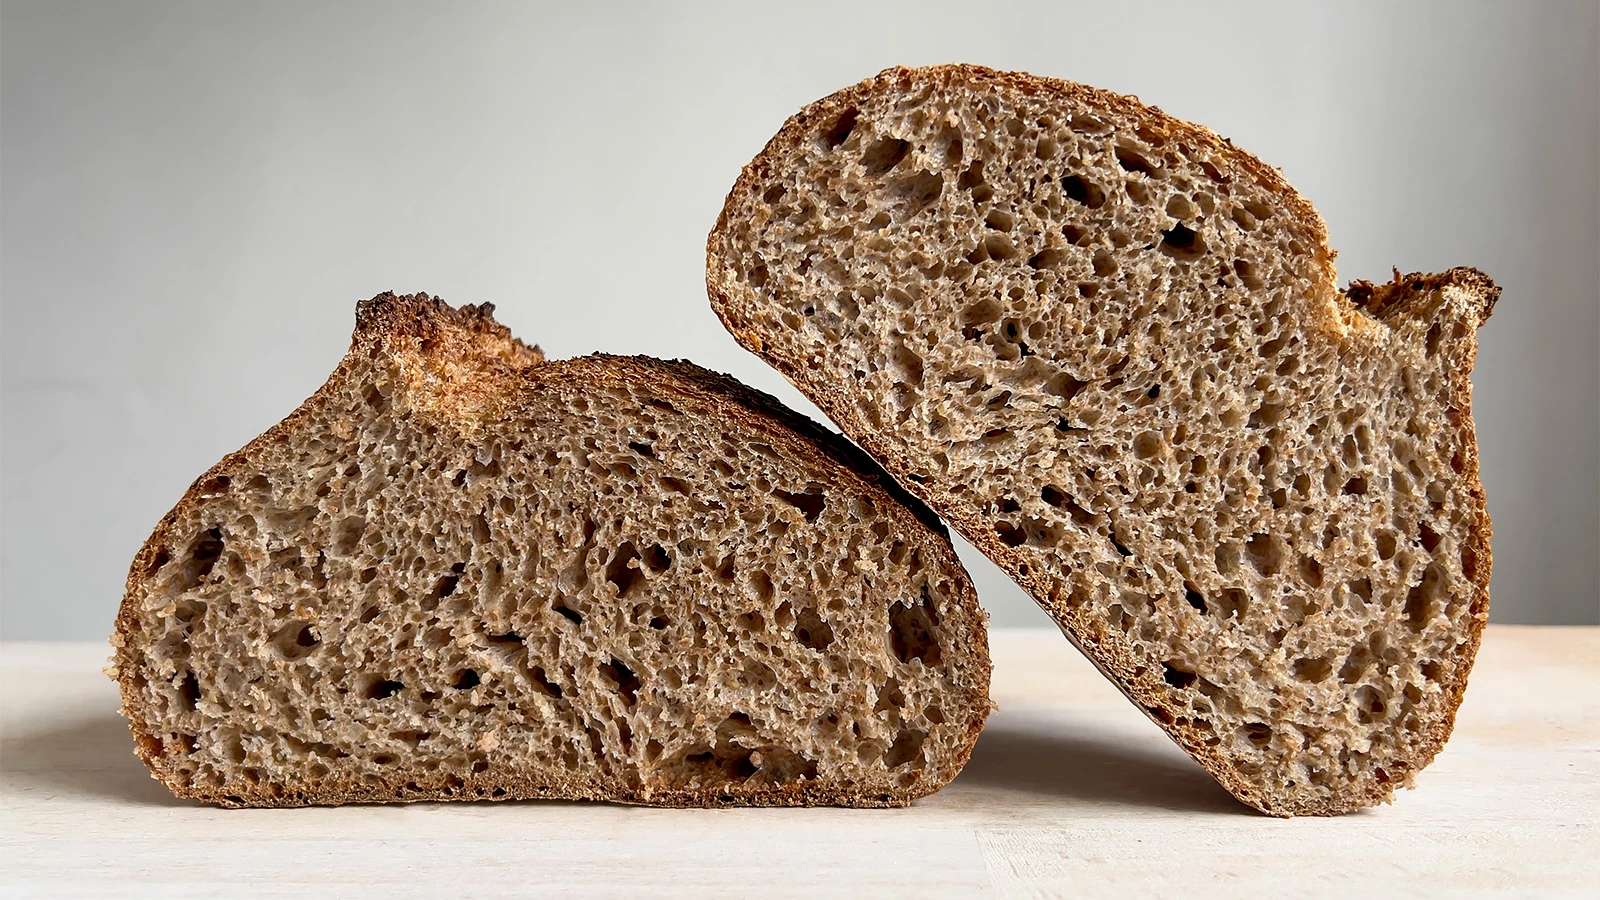
We’re a big fan of Italy’s legendary Mulino Marino flour mill and their excellent Organic Farro Integrale (Wholemeal Spelt) Flour. Packed with flavour, a beautiful honey colour to the crust and crumb, and easy to use if you follow a few tips here.
The secret to getting a light 100% spelt or wholewheat loaf is somewhat connected to watching your expectations and not treating it exactly as you would white flour. This also applies to any soft flour where you’re unsure at first how elastic or resilient the dough will be. Wholegrain flours effectively contain less gluten as more of the weight of the bag is taken up with other good things like bran and wheatgerm, so as a proportion the gluten element is far less compared to a flour that had most or all the germ and fibre sifted out.
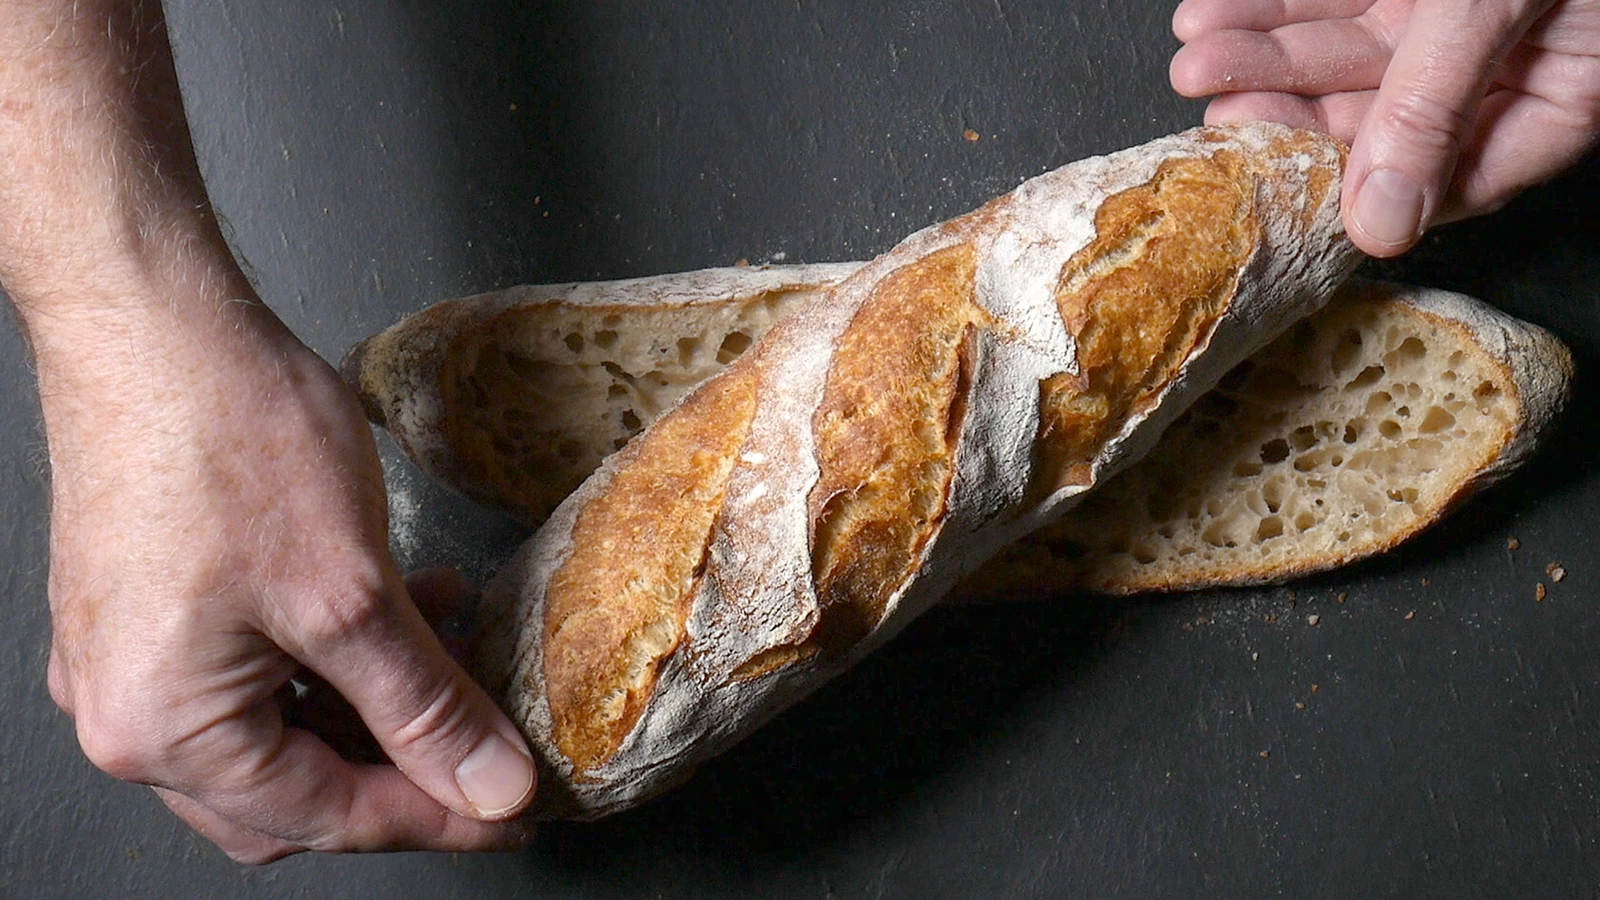
So the three essentials: use slightly less water until you get to know the flour, don’t over-rise the dough before shaping, or after shaping before baking. There’s a myth that the more that you let dough rise, the lighter the loaf will be. That’s not true, there’s a sweet-spot that each flour has and if you go past it your loaf will actually turn out heavier. As a guide, let the dough rise by 30%-50% (not double), before and after shaping, and you’ll get the best result.
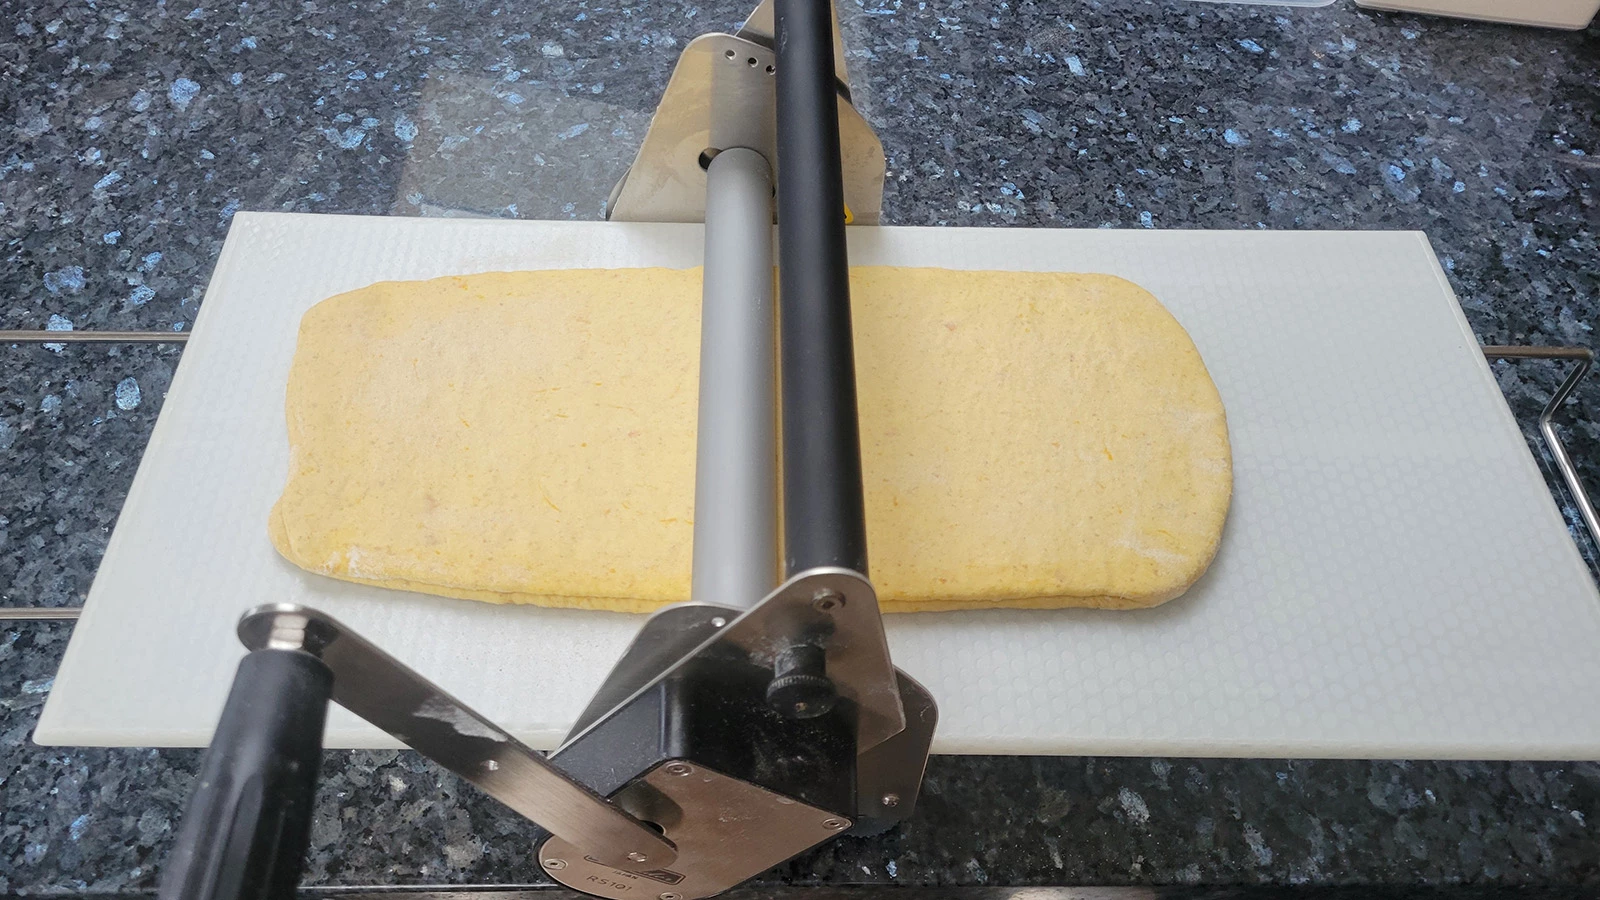
If you do have a sturdy dough mixer, like our IGF Fornitalia range, mixing the dough until it’s very elastic before adding the additional water and salt will give you the best lightness from wholemeal flour.
To make your baking life easier here's some equipment that you might want to consider
Heavy-duty weighing scales
KD8000 Bakery Scales
Micro-scales (great for measuring salt, etc)
Pocket Scale JZ115 (115g x 0.01g)
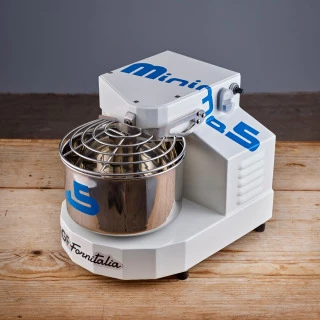
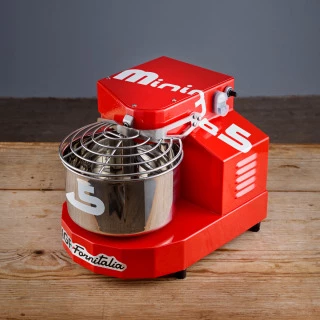
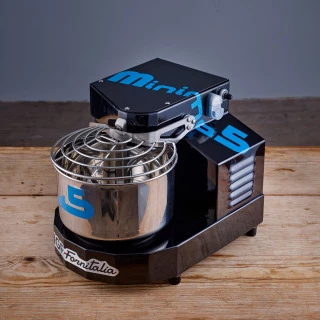
Pro-quality Tabletop Spiral Mixer
IGF Tabletop Commercial Mixer
Pro-quality Tabletop Proofing Cabinet
Brød & Taylor Folding Proofer
Method
For the autolyse:
Pour the flour and water into the mixer, and work together until the dough is somewhat evenly mixed. You’re not looking to thoroughly need the dough at this point, but just get the water and flour mixed so that the flour’s proteins can start to bond together. Cover and leave for 1 hour at room temperature.
For the dough:
Add the sourdough starter to the autolyse from above and knead (a mixer is very helpful here) until smooth and elastic. Then add the remaining water, a quarter at a time, and knead it in well before adding more water. Finally add the salt and knead this in well.
Cover and leave the dough to rise at about 26C for 2 hours, then give it one coil fold (a simple stretch and fold). Leave to rise for a further 1 ½ hours covered until there are clear signs of aeration in the dough and it has risen in volume between 1/3 – 1/2 (not double)
Shape the dough into a rectangle with a stretch and fold, then place seam-side downward on a board, cover loosely with a cloth, and leave for 45-60 to rest and flow outwards slightly. Then on a lightly floured worktop place the dough seam-side upward and roll up gently but tightly into a baton. Place on a cloth inside a banneton, loosely cover the top then place in the refrigerator and leave to rise overnight at 4-6C for about 12-16 hours.
To bake, heat your Challenger Bread Pan and the oven to about 220C - 240C (fan). Take the base out of the oven, upturn the dough onto it, slash the top with a sharp blade and spray with a fine mist of water. Place the hot lid of the pan onto the base then carefully lift the sealed Challenger Pan into your oven. Bake for 25 minutes then remove the Challenger Pan lid and bake for another 20-25 minutes until a dark rich brown colour.


 Flour")