Ingredients
For the autolyse
250g water, at 15c - 20c
80g active sourdough starter, refreshed 12-18 hrs before
400g Stoneground Strong White Bread Flour
towards the end of mixing
7g fine salt
Extra 30g water, approximately.
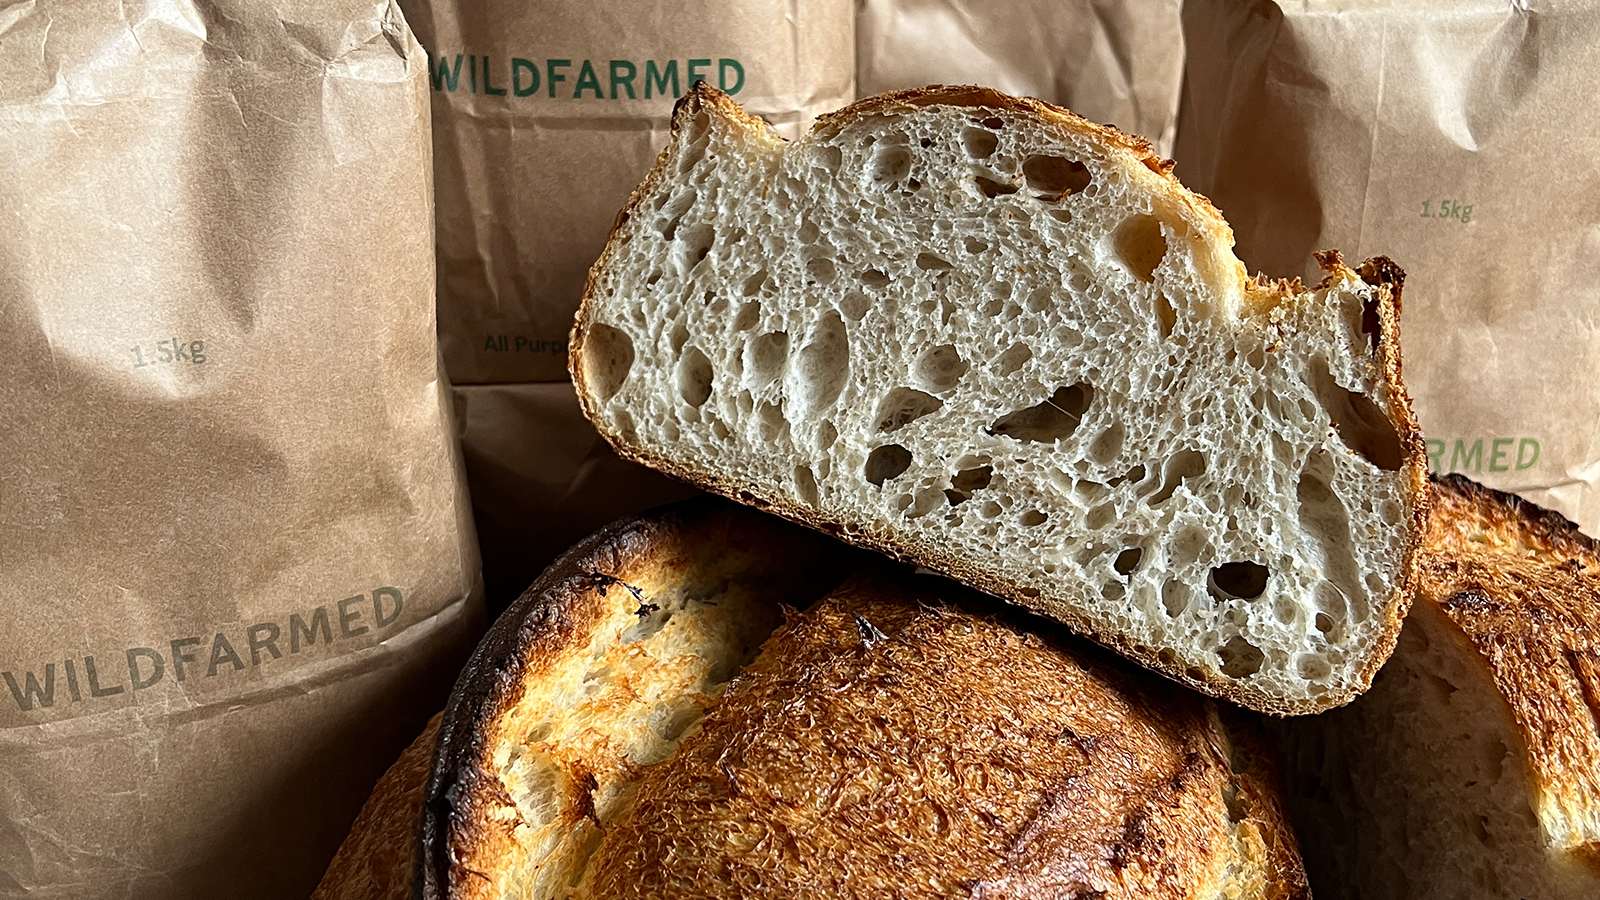
When you move away from roller-milled flours from imported grain and start using stone milled flours, especially using grains grown in a variable and wetter climate with a mixture of wheat varieties, you’ll notice characteristics that both improve the flavour and colour but also give a different consistency to the dough that might puzzle you at first. This is my go-to method for handling these beautifully complex flours so you maintain great shape and aeration in the bread while enjoying the rich flavour, stay-soft texture and crust colour these special flours offer.
Useful equipment to consider
Ankarsrum Assistent Mixer
Brød & Taylor Folding Proofer & Slow Cooker FP-205
1kg / 2.2lb Oval Cane Banneton or Proofing Basket
/kd8000-bakery-scales-simple
The Challenger Bread Pan
Pocket Scale JZ115 (115g x 0.01g)
Makes one large sourdough loaf
Prepare the autolyse: mix the water and starter together then add with the flour to mixer. Mix until roughly but evenly combined, about 2-3 minutes, then switch the machine off and leave for 1 hour.
For the final mixing: switch the mixer back on and mix for 4-5 minutes on a medium speed or until the dough starts to appear elastic. Then add the salt, and some of the additional water, mixing until the water is incorporated before adding more. The final dough temp should be about 15C-20C, quite cool.
Then switch the machine off, put the dough into a bowl, cover and leave at a very warm temperature (about 30C, the Brød & Taylor Folding Proofer makes this easy), and leave for about 2 hours to rise. Give the dough one stretch and fold (coil fold) then cover again and leave for another 1 ½ - 2 hours until risen by about 50% and aerated.
Shape the dough into a ball, leave to rise for another hour. Have your banneton ready, with a cloth inside to help stop it sticking. Shape the dough into a batard or cob shape, place seam-side upwards on the cloth then place this in the banneton. Leave to rise for about 45-60 minutes at 30C, then place this in a covered bag (an old plastic bag is useful here), and place in the refrigerator overnight.
To bake: the following day heat your oven and the Challenger Bread Pan to about 220C (fan), with t. If the dough is feeling slightly wobbly still you can place it in the banneton into the freezer for 40 minutes to firm it. Having a disk of non-stick paper ready for the base of the Challenger pan. Remove the hot base of the pan from the oven and have it ready. Upturn the loaf onto the paper, slash the top with a sharp blade, then lift the paper and loaf onto the Challenger pan base. Spray the top with a fine mist of water, place the lid of the Challenger pan back on top, and lift the pan into the oven. Bake for about 25 minutes then remove the pan lid and continue to bake for a further 10 – 15 minutes (at a slightly lower temperature if you like) until the crust is the colour you prefer.


